The Bride Candy

View Original

Creating Gorgeous Save the Date Cards

One of things I was most excited to do when planning my wedding was to send out save the date cards. I couldn’t wait to officially announce my upcoming wedding to the people I love. But when I got into the process of making the save the dates, I realized that there’s a lot more to it than I thought. I won’t lie to you, planning a wedding is hard – there are lots of times when it feels a little less than fun. If you’re like me, the tasks that are the hardest to check off the wedding to-do list are the ones where there’s a ton of details to consider. But with a little bit of preparation and the right tools any wedding task can be easy. Here’s how to print custom save the dates the easy way from start to finish.

Get your details ready

In order to send out save the date cards, obviously you will need to know your wedding date! But make sure that date is completely confirmed. Remember that the purpose of the save the date card is to remind your guests to request time off of work, think about attire, and start to make travel plans. So if your details change, it could cause a lot of trouble for your guests. 

How do you make sure your date is totally confirmed? If you’ve got a signed contract and made a deposit payment on your wedding venue, you should be good to go. If you’re getting married on private property (like a relative’s house), make sure to get written permission from the owners with some general guidelines. And if you plan to tie the knot in a public setting like a beach, be sure to check out permits to ensure date availability.Doing a little bit of work up front can save a big headache down the line.

Create a guest list

Now that you know your details, you need to create a list of recipients. The big question is who should get a save the date card? That’s really a topic for a whole separate blog post. But a good guide is to make a list of close family on both sides, then add in friends that you’ve talked to in the past year and wouldn’t mind spending a couple of hours with at a dinner party. Remember that you can always invite more people later.

After you have your guest list, it’s time to get addresses. This took me a lot of time when I was doing my save the date cards because I didn’t have a lot of that info and it took a lot of phone calls to get it. Luckily there are tools that can help you with this, like Basic Invite’s free address collection service where you can request your addresses. You share a link via social media or email, collect addresses, and even get free envelope printing. Get started at the Basic Invite website: https://www.basicinvite.com

Eye on Design

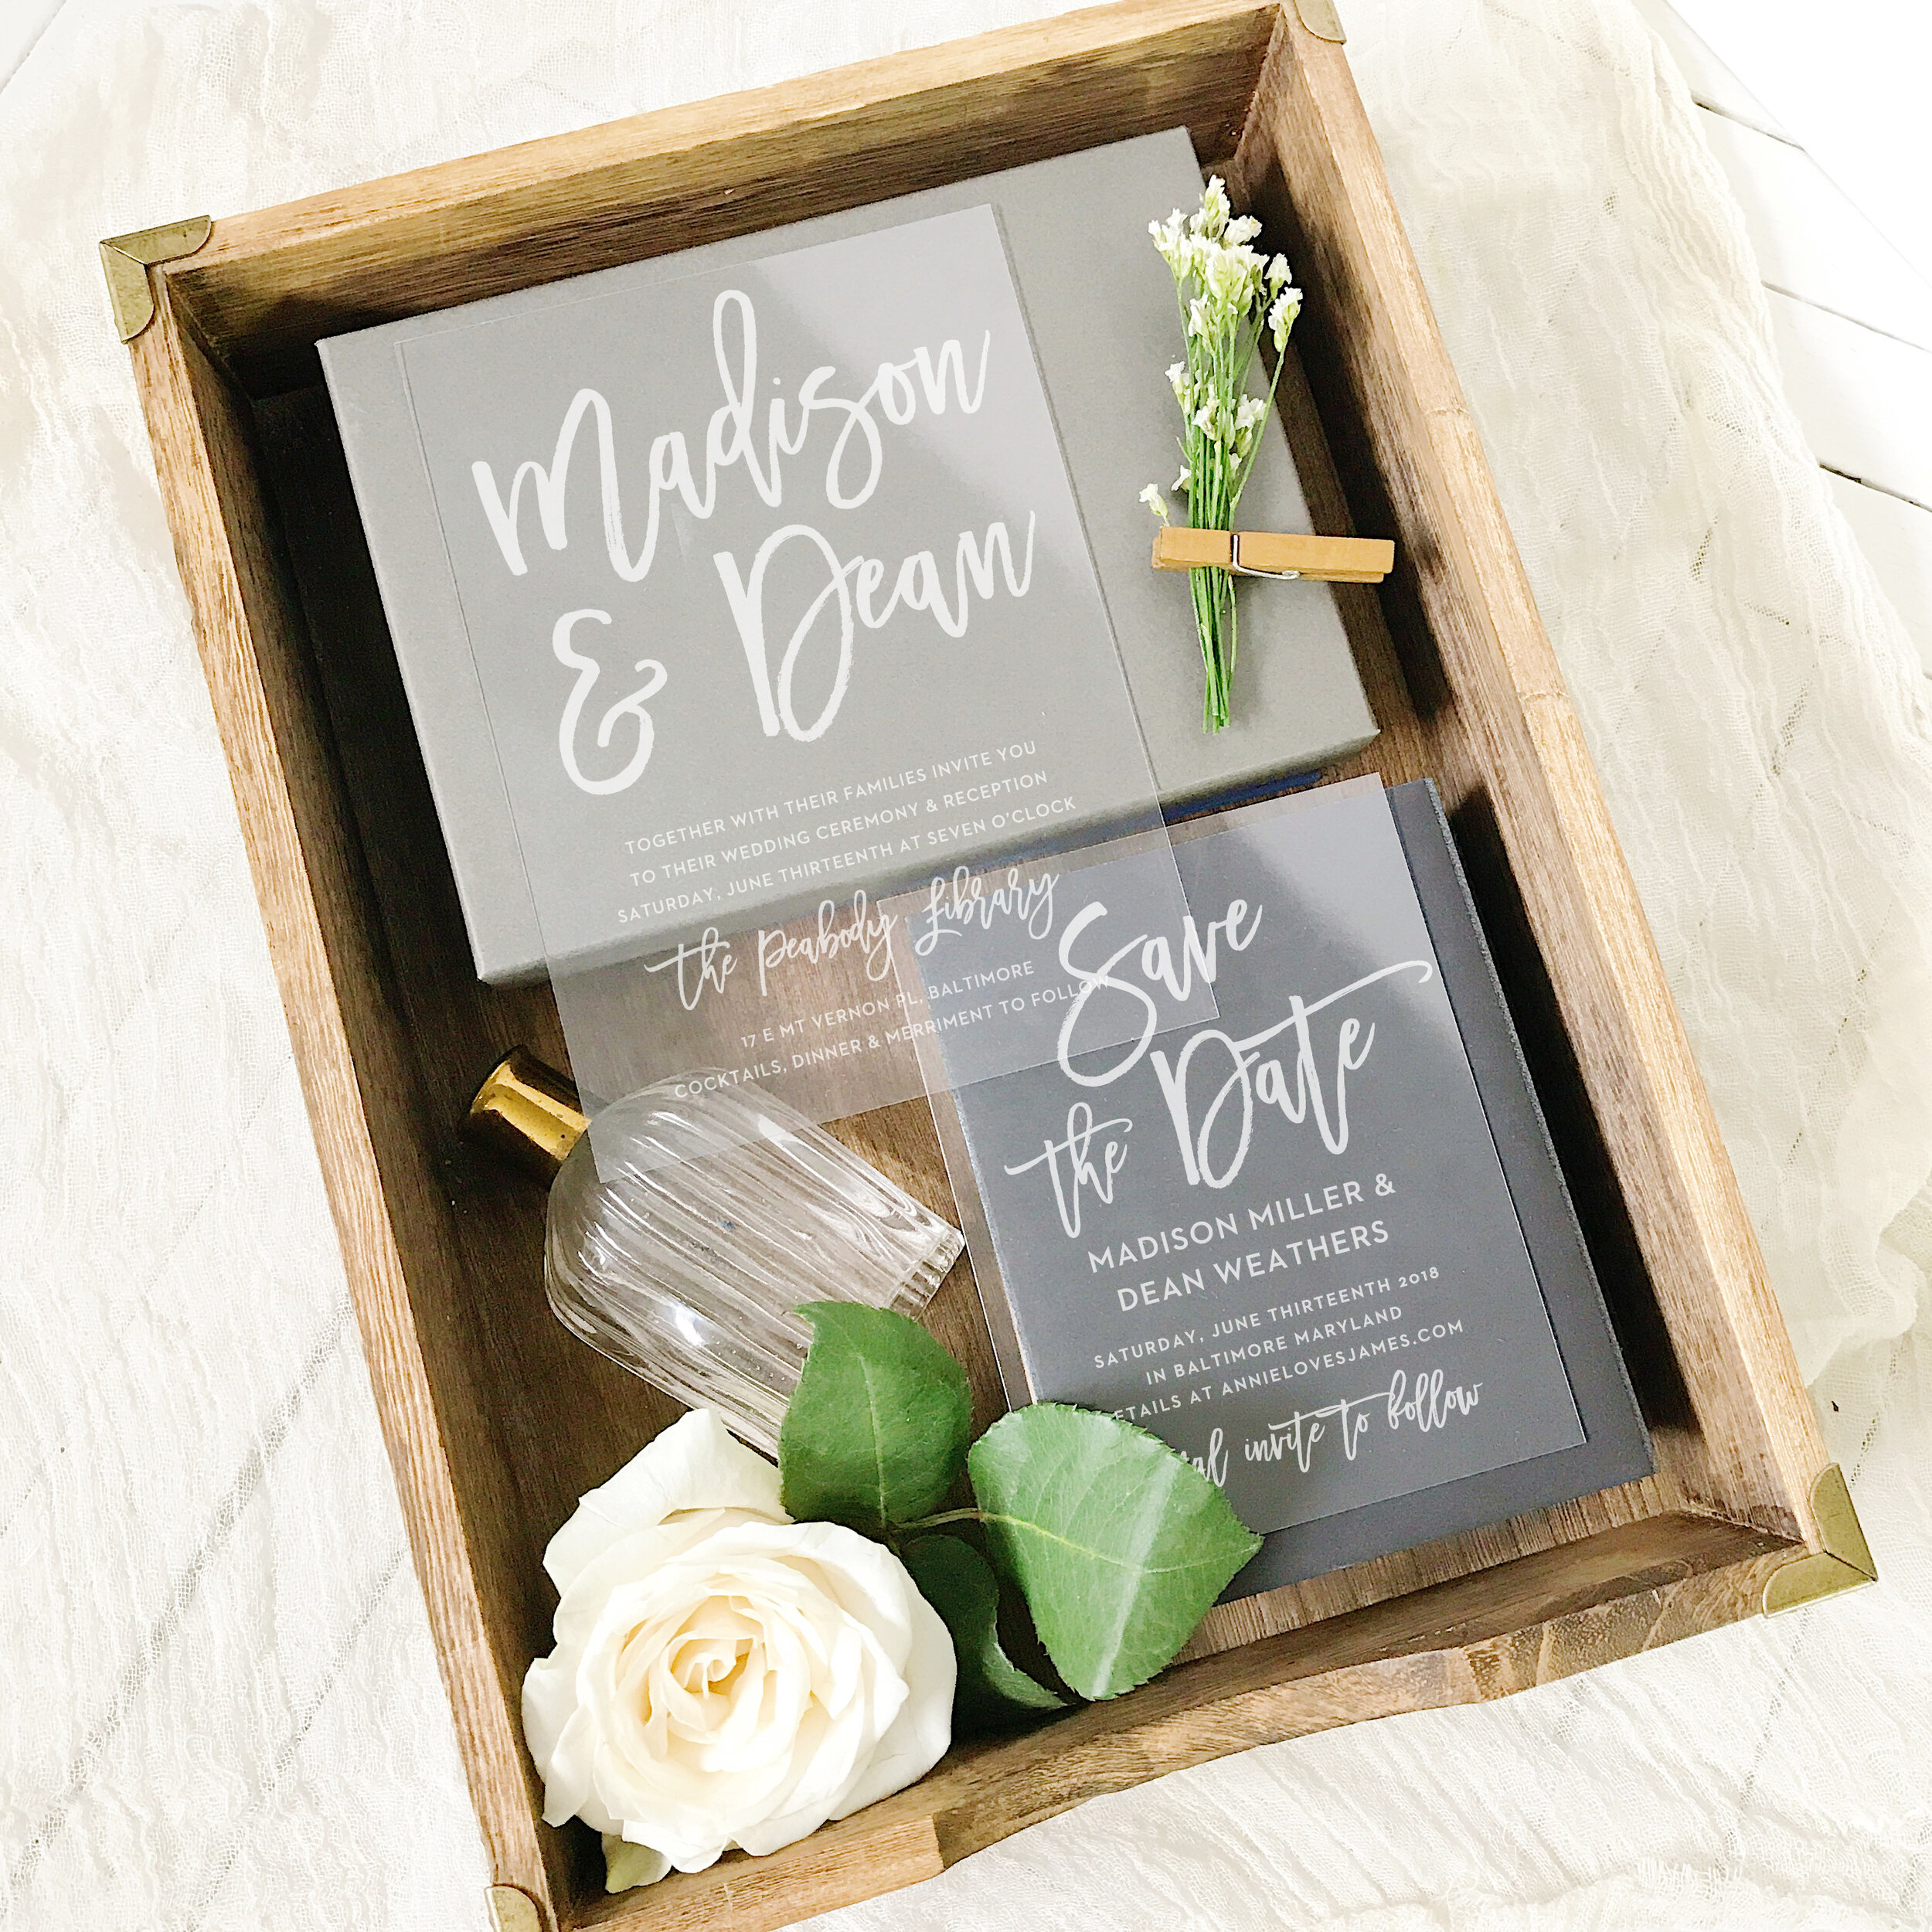
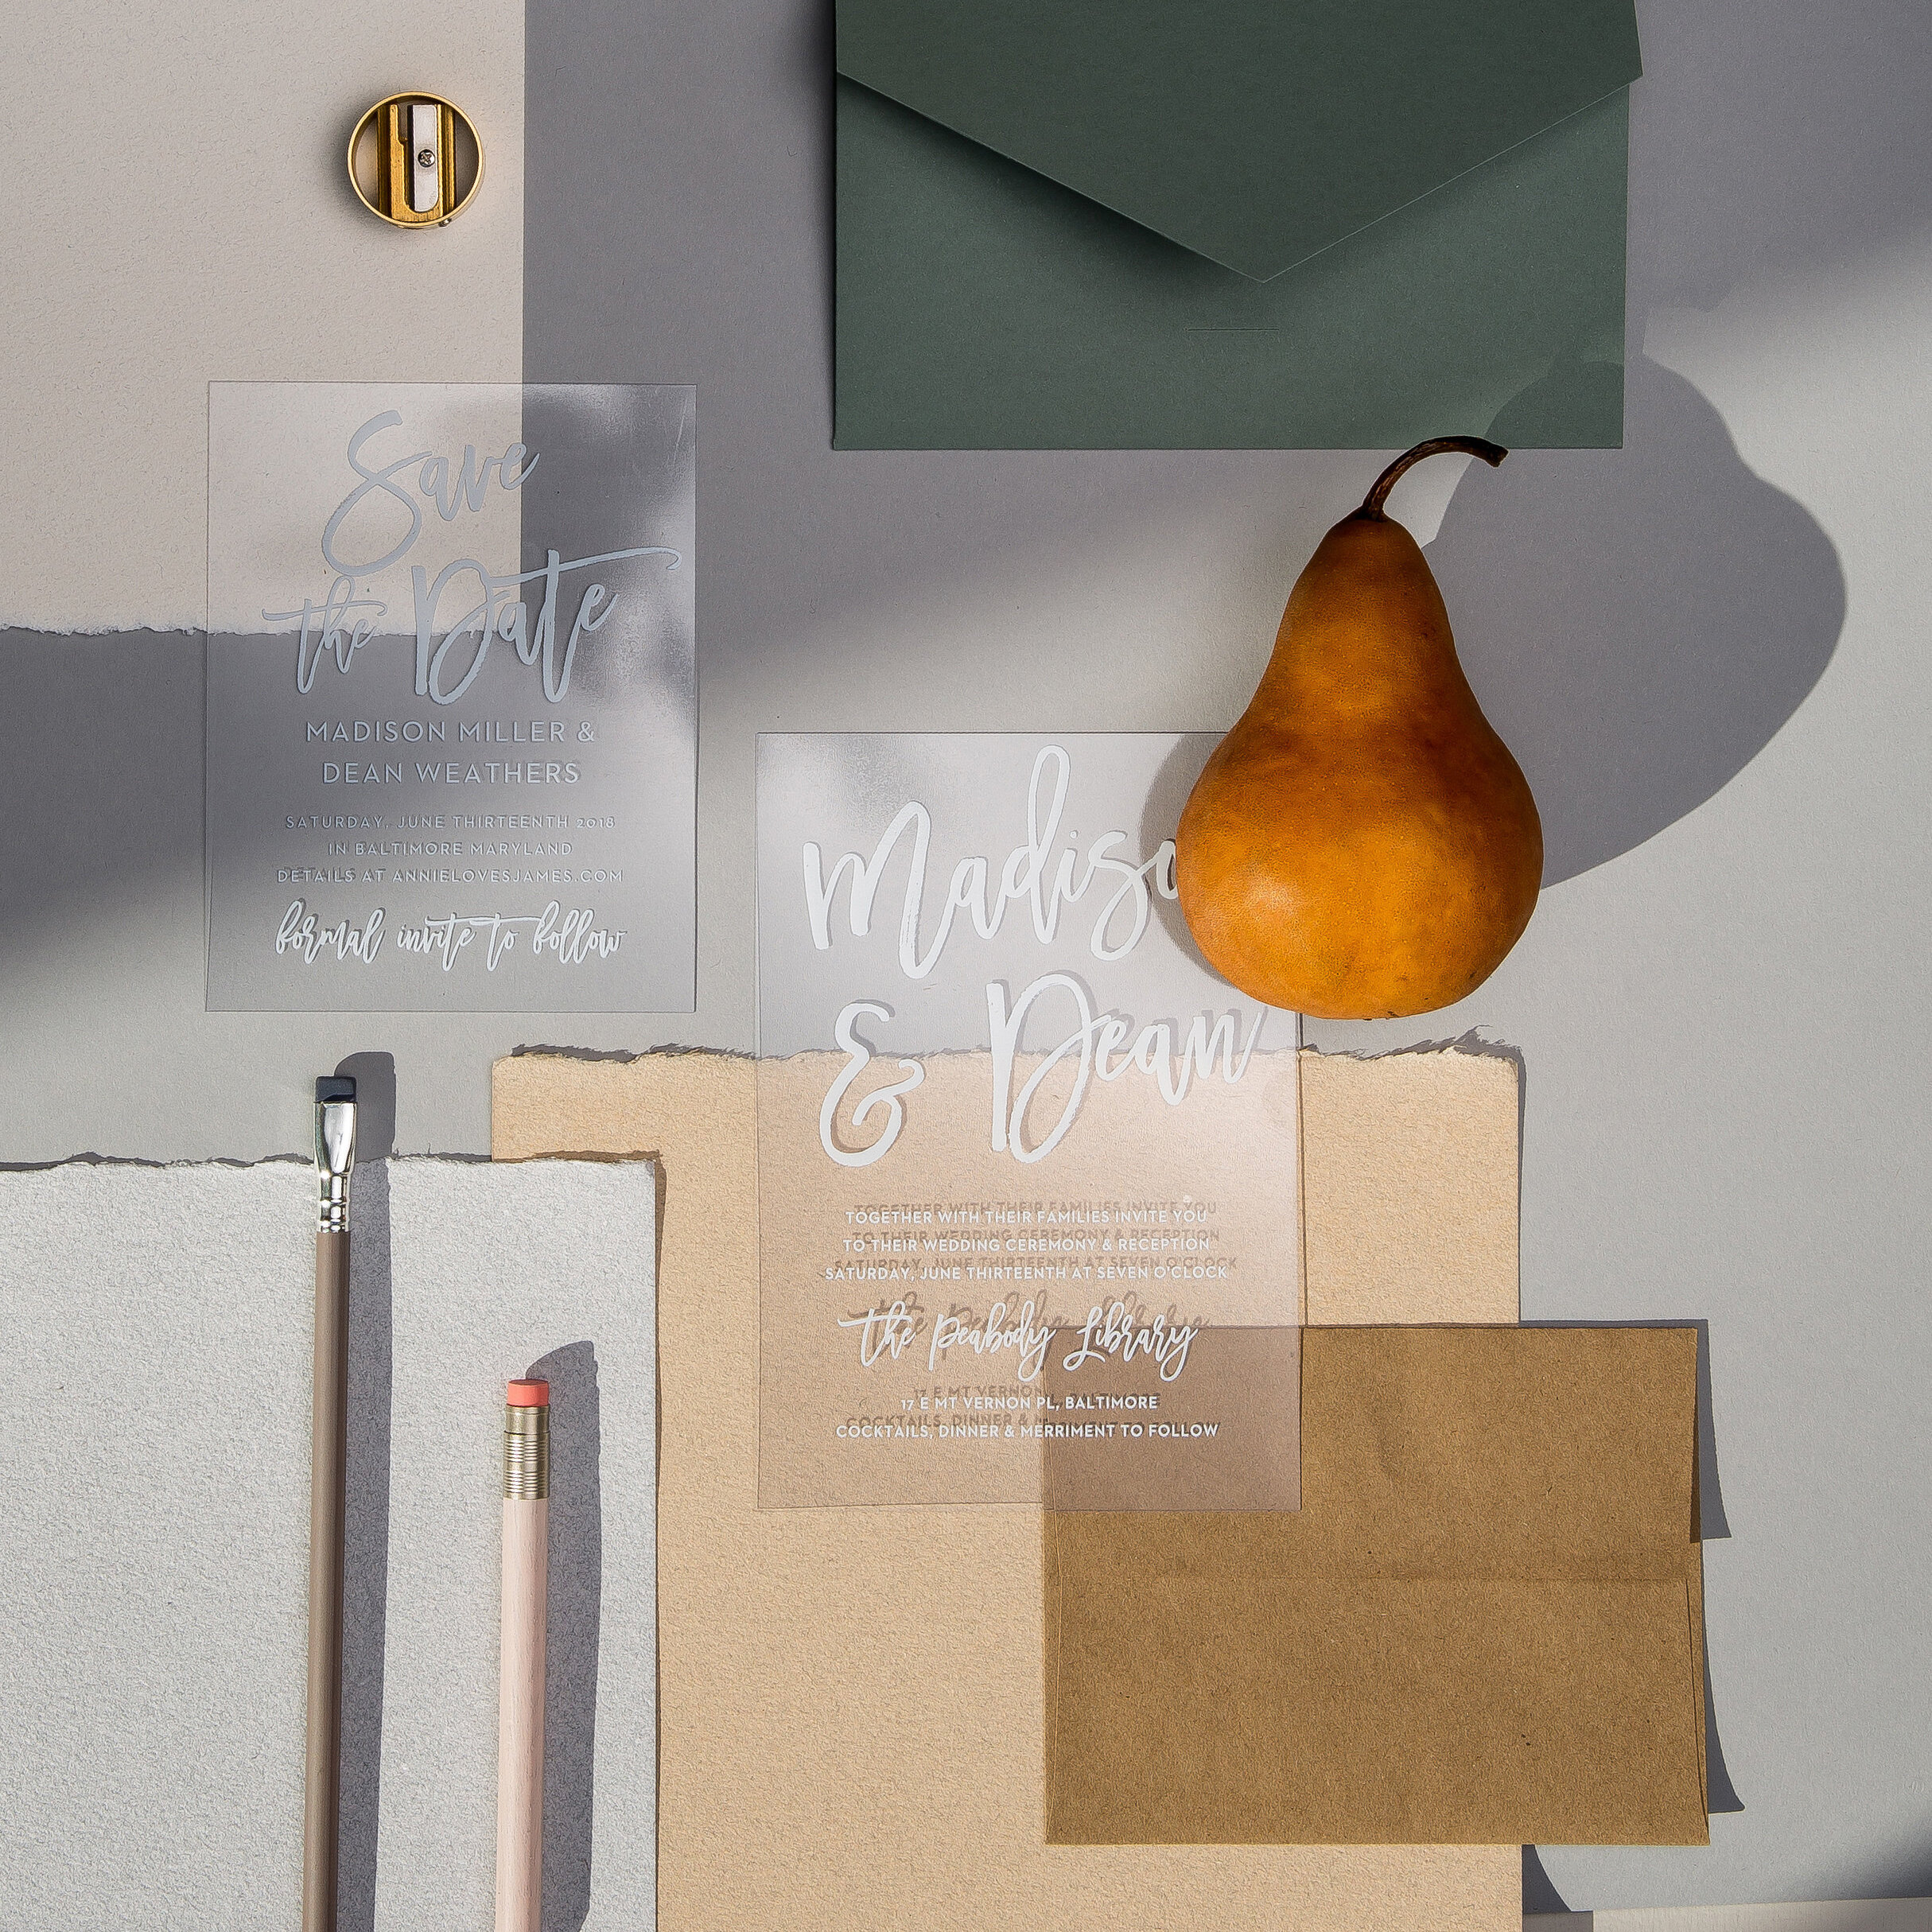
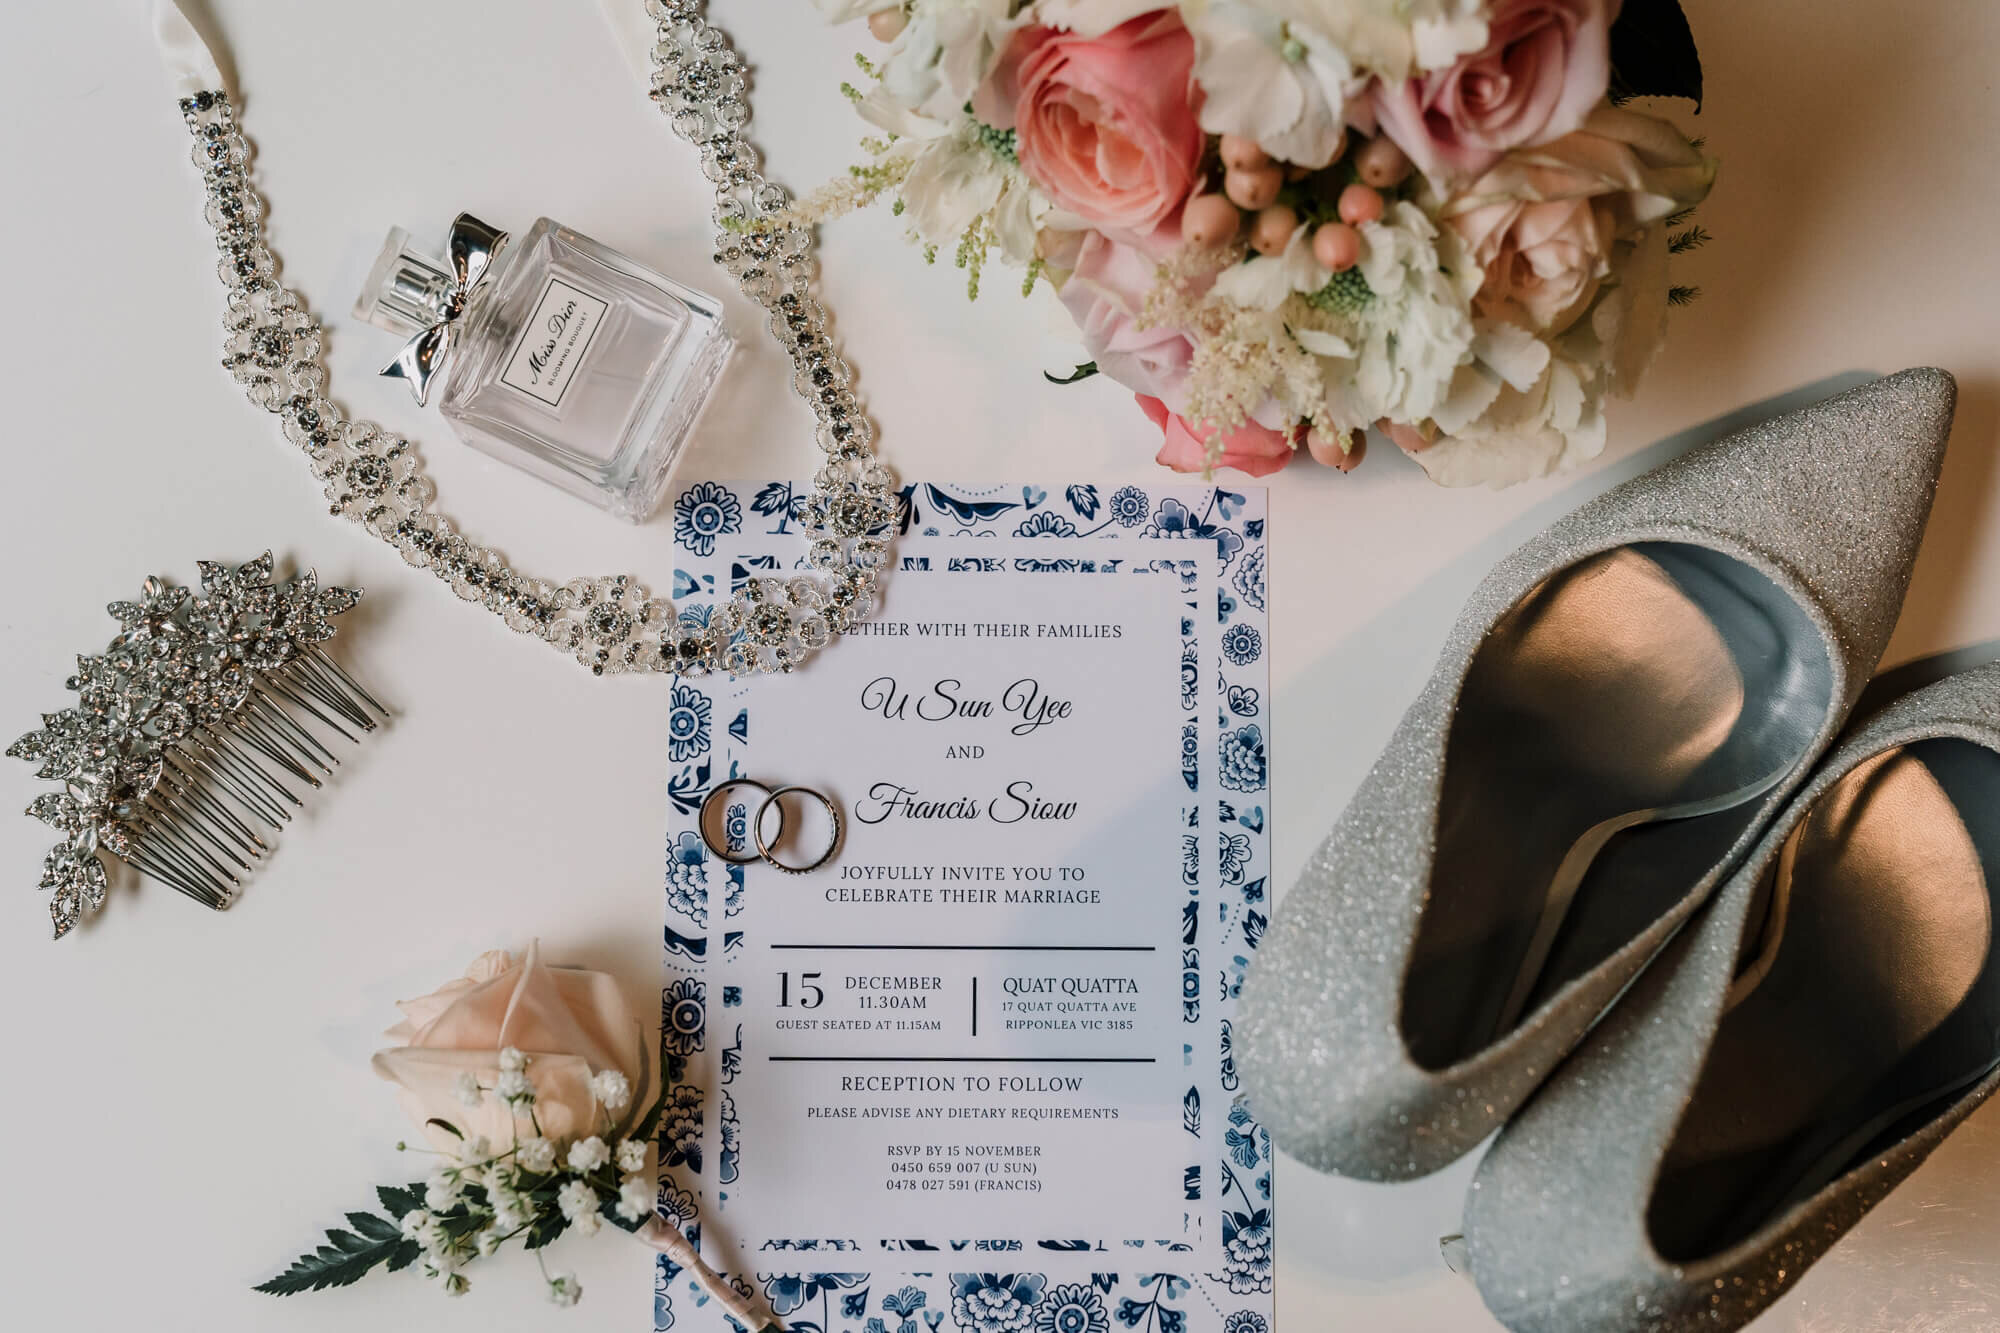
Now it’s time for the fun part, designing your save the date cards. Some couples choose to DIY this or hire a calligrapher, but there are even easier options where you can print custom save the dates online. If you’re not a graphic designer or super artistic then this is definitely the way to go since you can start with a design template that you like then customize it to your wedding colors and style. I like Basic Invite’s ability to completely customize the color of any template down to the littlest detail with 180 unique colors. They also provide matching invitation suites and envelopes in 40 different colors so after you customize your design it looks cohesive with all of the other printables at your wedding.

It’s important to order a sample so you can see the colors and the quality of your save the date cards. This is the first impression your guests will have of your wedding styles so the details need to be perfect. If you choose to print custom save the dates then you should always request a custom sample (Basic Invite does this too).

Send them out

Now all the hard work is done! Once your custom save the date cards are printed the last step is to assemble them – put your card in the envelope, secure it with a sticker, and add postage. Make sure you’re using enough postage for this since save the date cards and wedding invitations tend to be heavier than standard first class mail. You can go to the post office to order the wedding stamps they have available or make your own custom ones online. 

Once you’re ready, drop off your save the date cards at your local post office then set back and wait for the compliments to roll in.

Extra credit

Congrats, you just sent out your save the date cards! To make things even easier, you can make your wedding invitations at the same time and print them out a little later on. Most couples choose to send the formal invitation 3-4 months before the wedding.

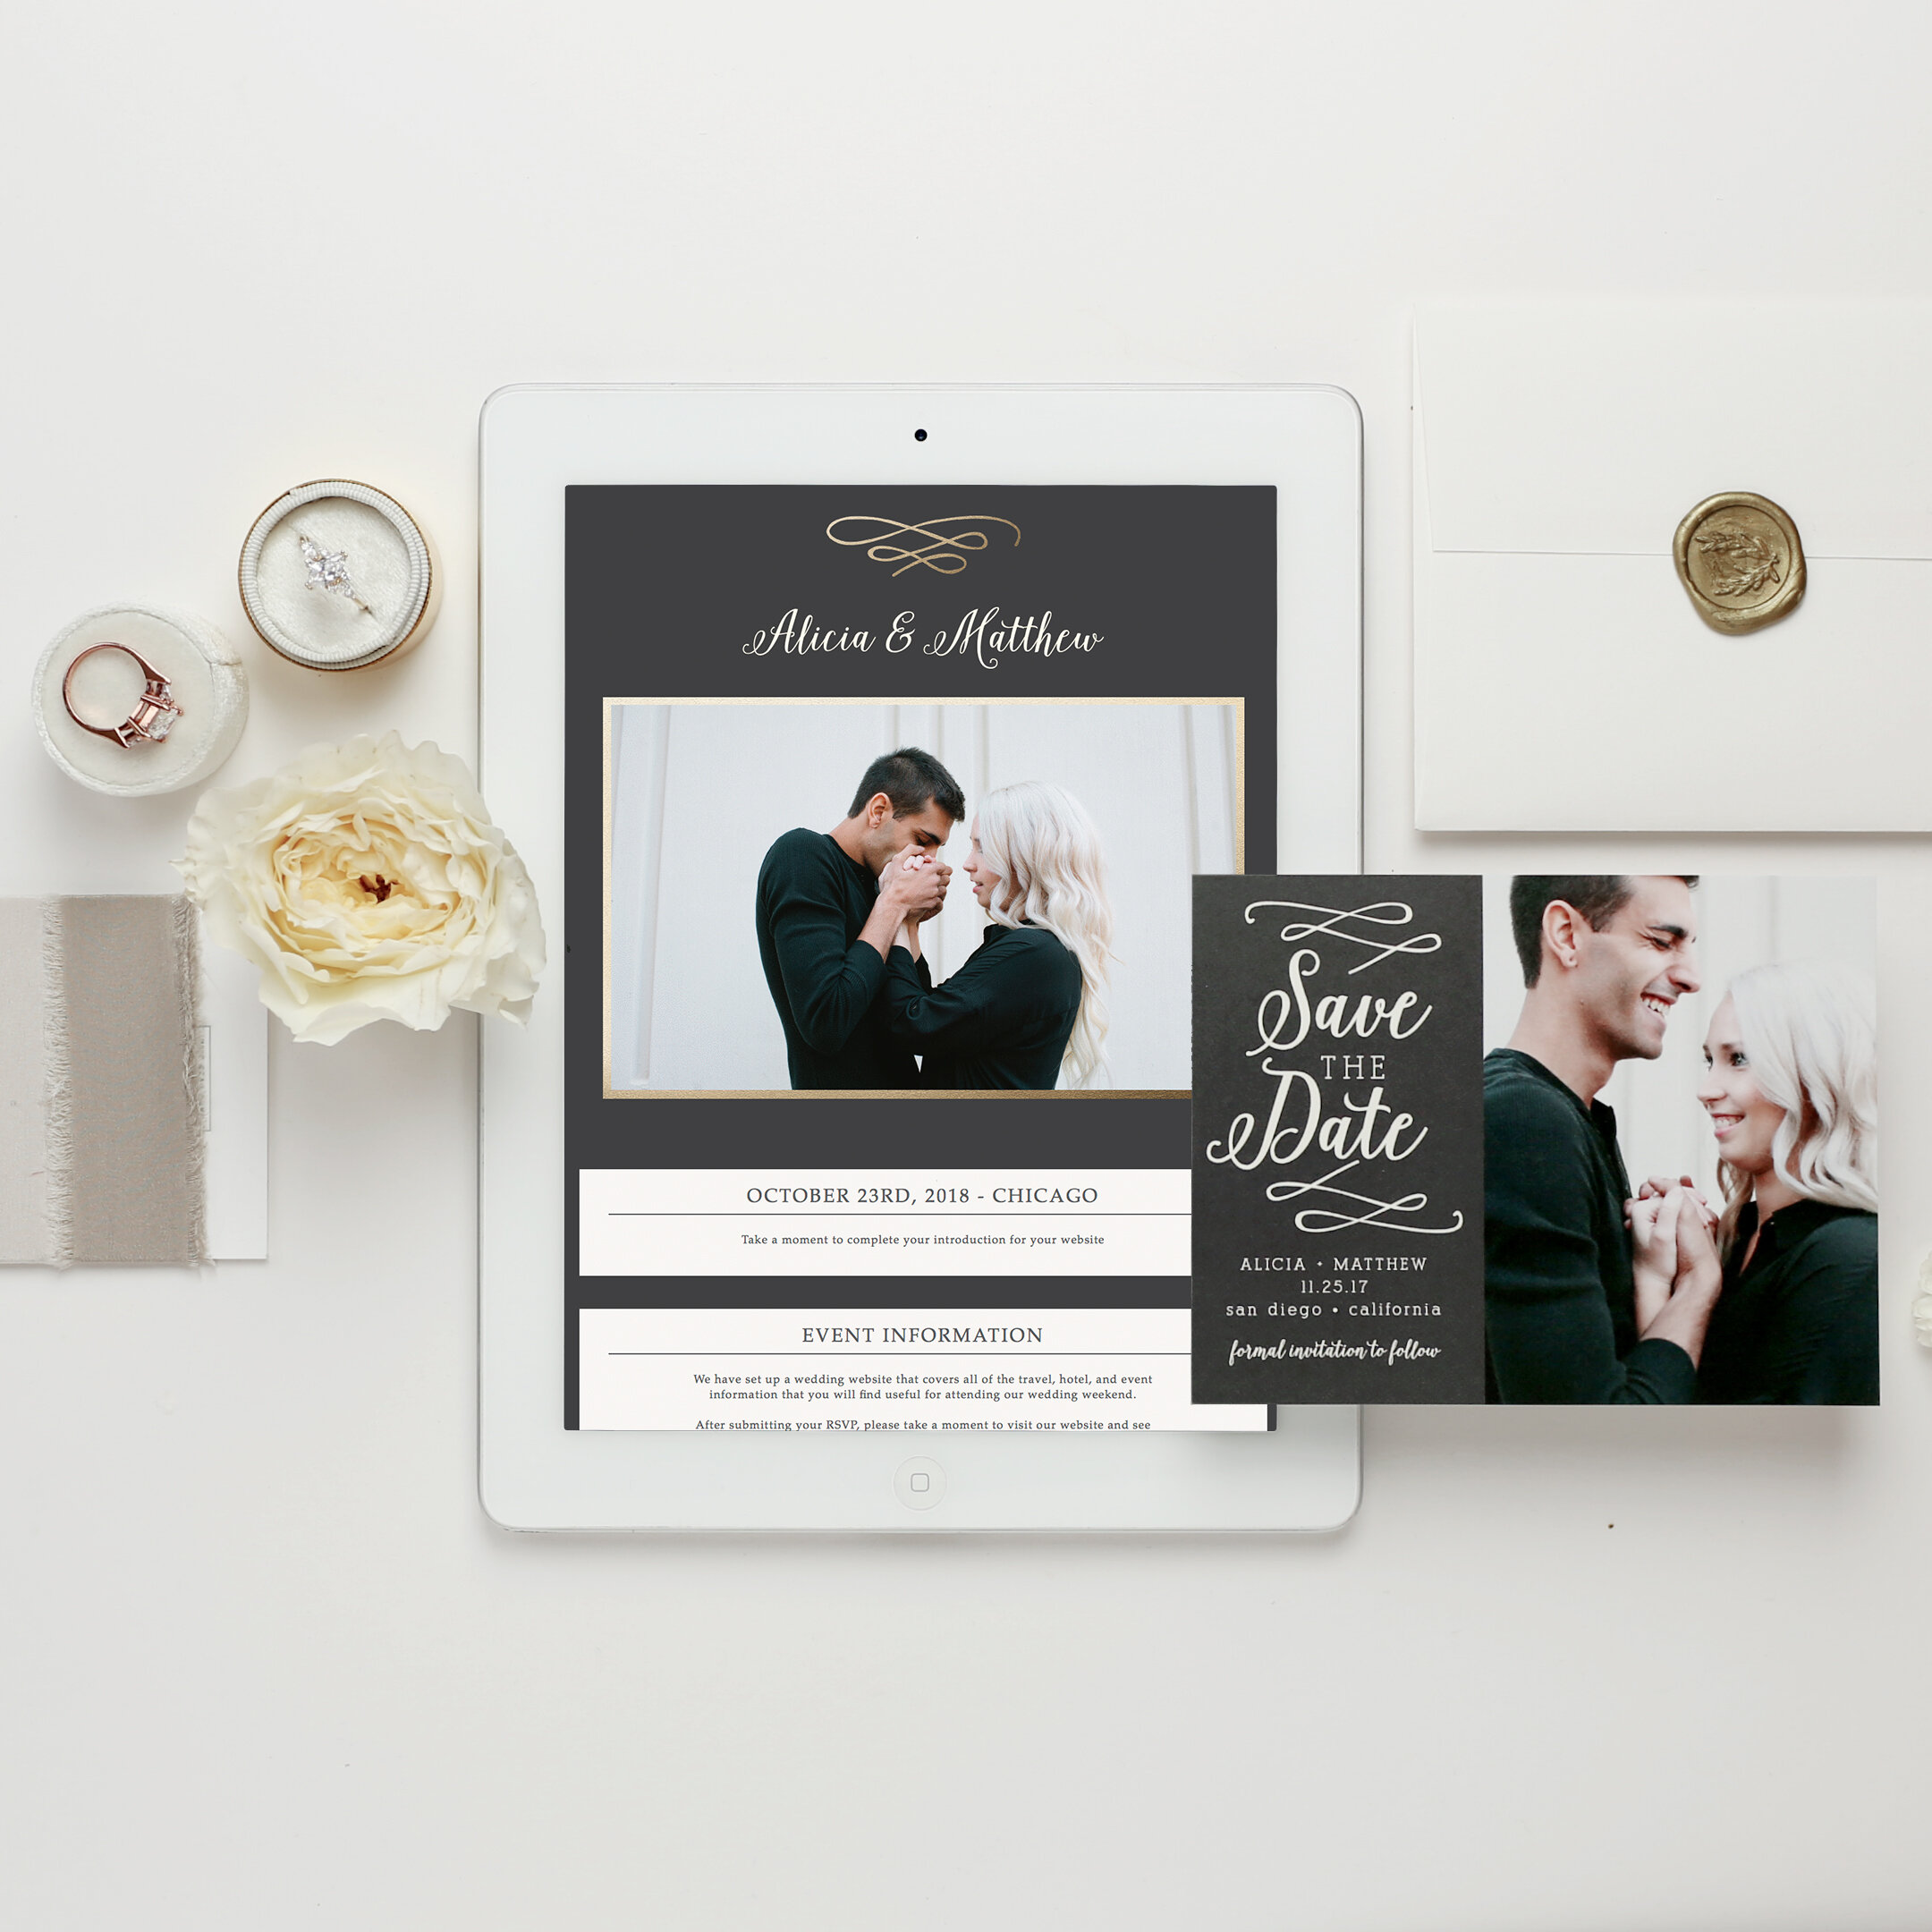
This is also a great time to get started on your wedding website. Your website will be the place where your guests will get all of the wedding-related info they need, like hotel and travel info, the list of events, maps and directions, and a link to your registry. It’s best if your website mirrors the design of your save the date cards and wedding invitations, so if your card printing company allows you to host your website with them it’s a good choice for this (Basic Invite does).

Don’t worry, it seems like getting out save the date cards and invites is a lot of work but with the right tools it can be pretty easy. And when it’s done you’ll have a major task to check off of your wedding to-do list. It’s also the start of your process for starting to look for your other vendors. If you’re wondering where to start with decor, we can help! Ask us how The Bride Candy can help you make your wedding gorgeous and romantic with flowers.